
Last updated October 17, 2026
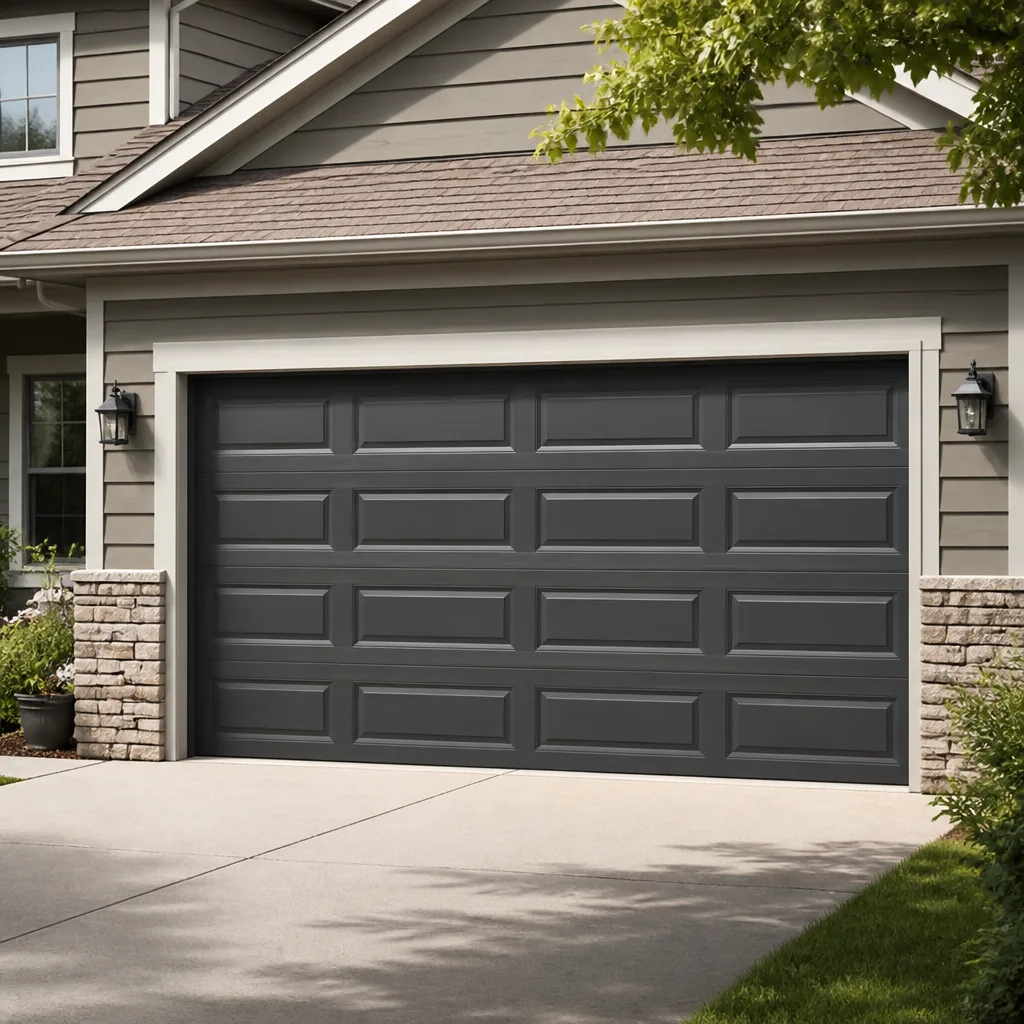 Raised-panel steel
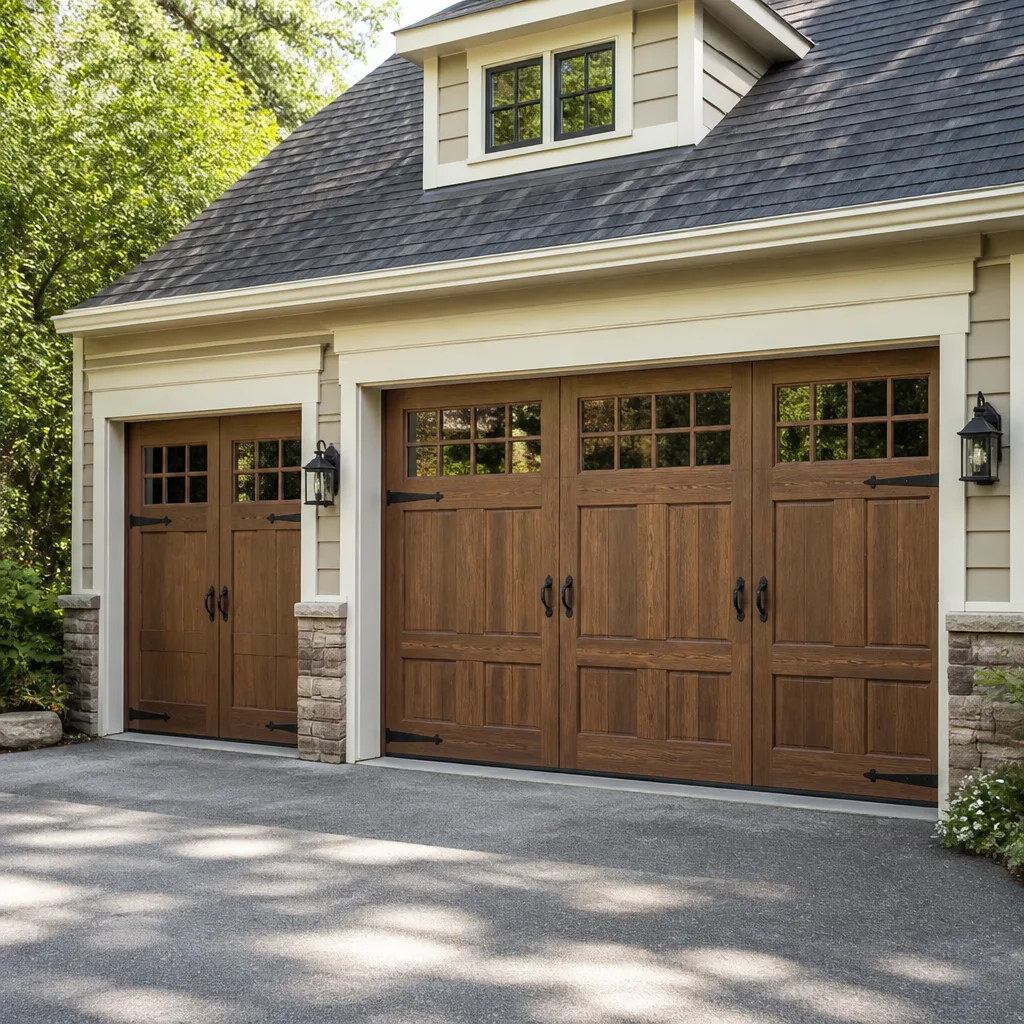 Carriage house
 Modern flush
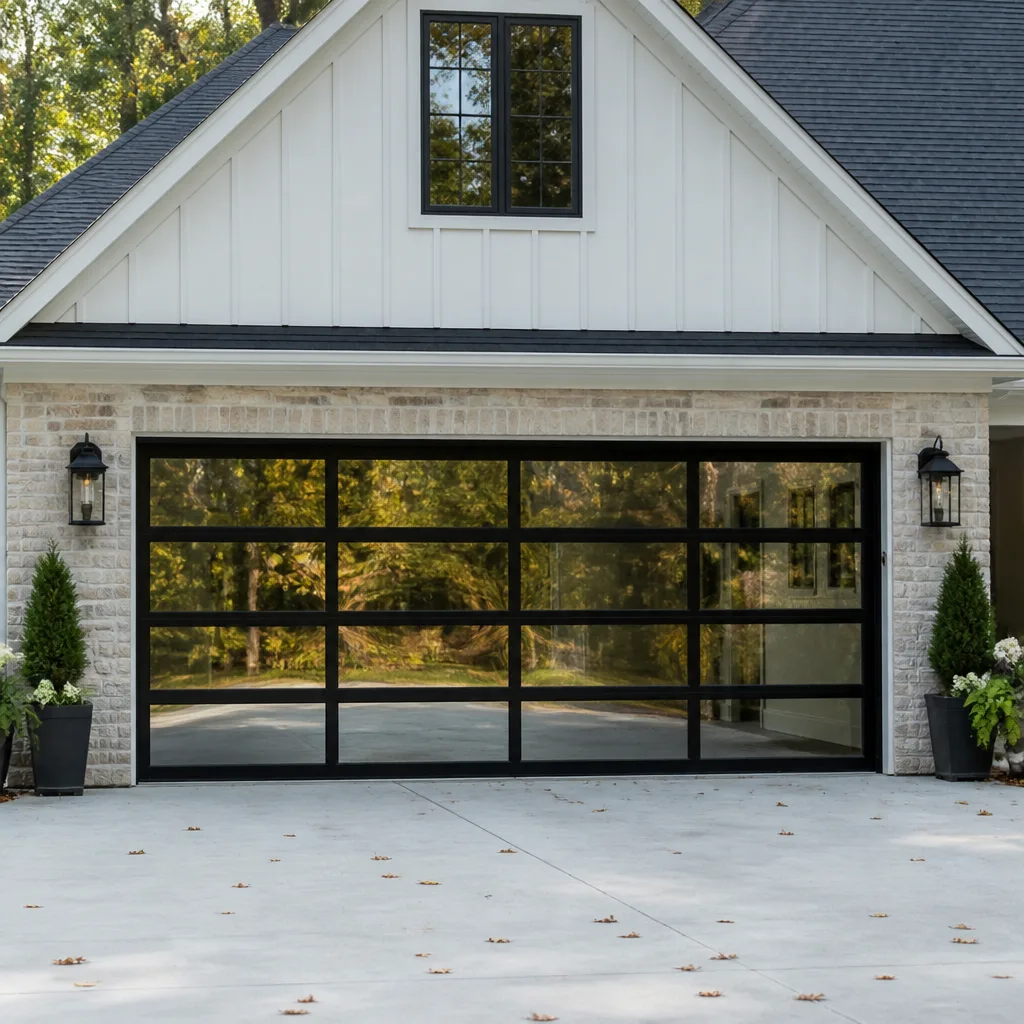 Full-view glass
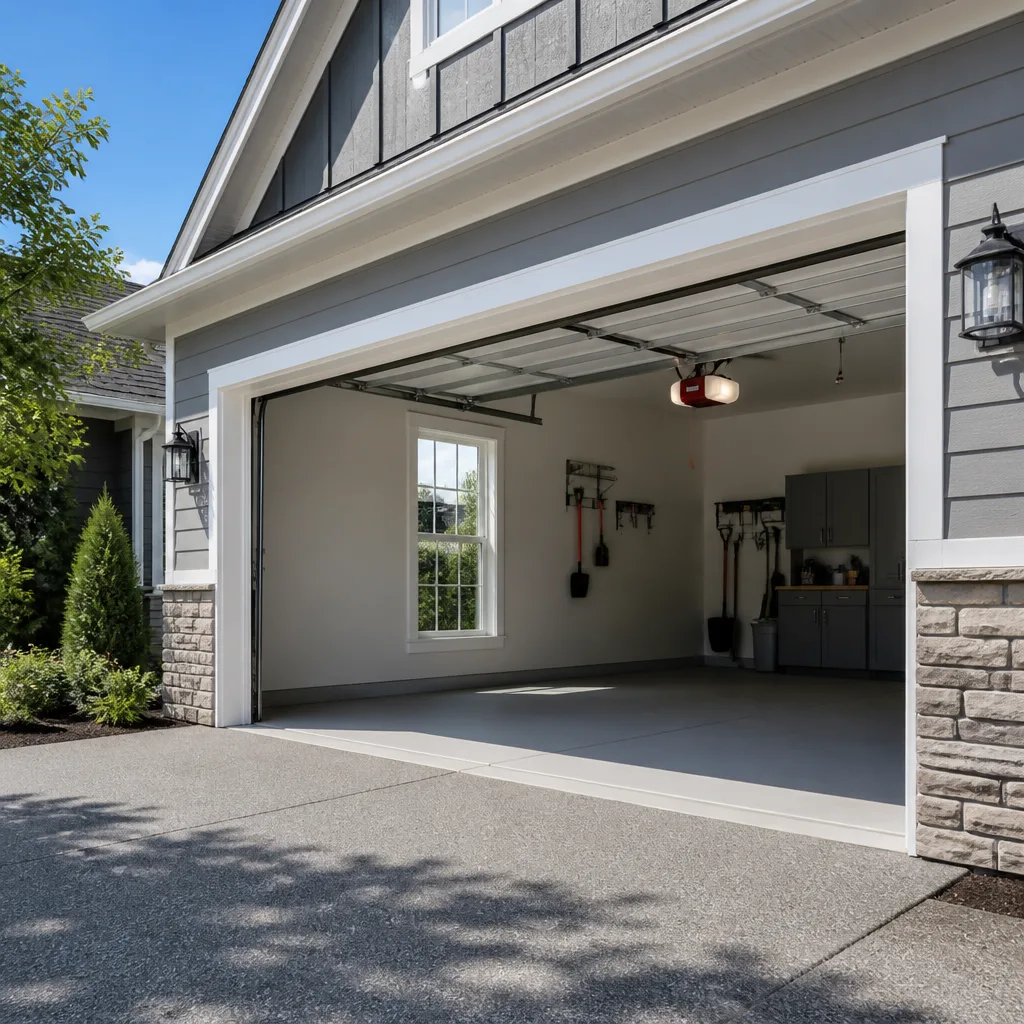 LiftMaster openers
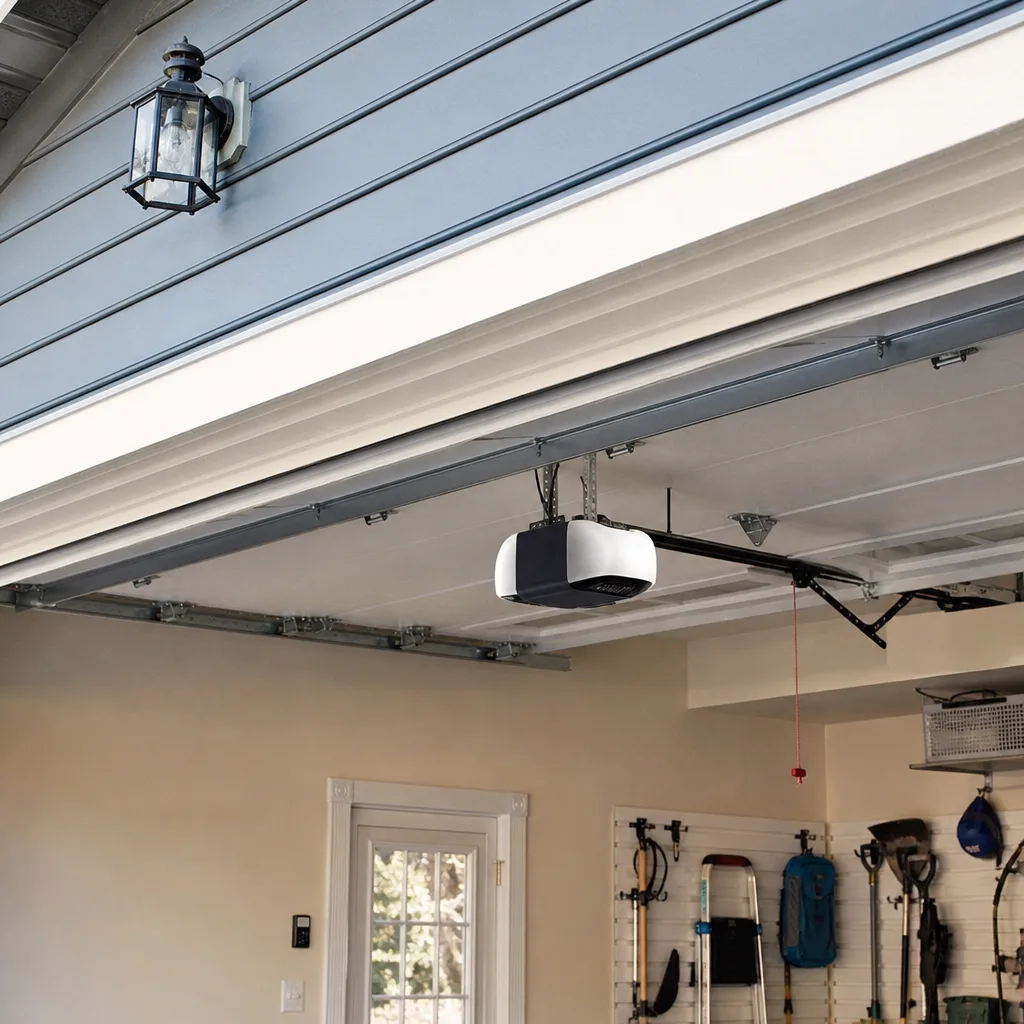 Chamberlain openers
Full 25-point door and opener safety check with every visit - springs, cables, rollers, tracks, and your LiftMaster or Chamberlain opener included
You get a price before we start. It does not change when the truck arrives.
Get your free estimateDIY vs Professional Garage Door: The Houston Homeowner’s Decision Guide
A torsion spring on a standard two-car garage door stores roughly 100 foot-pounds of torque per inch of winding. That means a fully wound spring holds enough energy to send a steel bracket through drywall, or worse. Every year, Houston emergency rooms treat homeowners who learned this the hard way. This guide walks you through exactly which garage door repairs are genuinely safe to do yourself, which ones carry risk that has nothing to do with your skill level, and how Houston’s heat and humidity change the equation in ways most more guides & resources never mention.
Quick Answer
DIY is reasonable for about 30% of garage door fixes: weatherstripping, bottom seal replacement, photo eye realignment, keypad batteries, and track lubrication. Anything under spring or cable tension, any panel replacement with multiple hinges, and any opener logic-board repair should be handled by a professional. In Houston, add heat to the list of reasons why: compressed components behave differently at 95°F than at 65°F, and a spring that lets go in July releases energy faster than the same spring failing in January.
Styles & brands we work with
Table of Contents
- The Component-by-Component Decision Matrix
- How Houston’s Heat Changes the Repair Equation
- The Hidden Cost: DIY and Your Door’s Warranty
- What DIYers Should Document for Insurance Purposes
- When a Safe DIY Task Reveals a Second Problem
- The Real Tool Math: What DIY Actually Requires in Houston
- Common Mistakes to Avoid
- When to Call a Professional
The Component-by-Component Decision Matrix
In our experience across Houston, from West University to Katy to The Woodlands, the DIY question is rarely about the whole door. It’s about one specific component that failed. Here’s the honest breakdown, organized by risk level rather than by job size.
Genuinely Safe DIY Tasks
These five repairs account for the most common nuisance calls we get in Houston, and none of them require touching the spring system. If you’re reasonably handy and own a stepladder, these are reasonable to do yourself:
- Weatherstripping replacement along the side jambs. The rubber strip pulls out of its channel and a new one presses back in. Takes about 20 minutes per side. Houston’s UV exposure means you’ll do this every three to five years regardless of door brand.
- Bottom seal replacement. The U-shaped rubber strip slides out of the aluminum retainer on the bottom of the door. Order the correct profile for your door brand, cut to width with a utility knife, slide it in. This is a $30 fix most Houston homeowners can do in 30 minutes.
- Photo eye realignment. If your opener reverses immediately, check whether both sensor lights are solid. A gentle nudge to point them at each other usually fixes it. Use a level, not your eye.
- Keypad battery or wall console battery replacement. Open the cover, swap the 9-volt, reprogram if the manual says so. No tools beyond a screwdriver.
- Track and hinge lubrication. A silicone or lithium-based spray on the rollers, hinges, and locks every six months keeps things quiet. In Houston’s humidity, do this twice a year or the rollers gum up.
Borderline: Depends on Your Comfort Level
- Roller replacement on non-spring-loaded hinges. If the roller sits in a simple hinge, you can swap a worn nylon roller with a screwdriver and some patience. But if any hinge bracket shows a warning label or you see a cable running through or near it, stop.
- Opener remote reprogramming. Most Chamberlain and Genie openers have a learn button that makes this a 60-second job. If you’re replacing the logic board or dealing with a Security+ 2.0 compatibility issue, that’s a different story.
- Track bolt tightening. If the door shakes or rattles, snugging the bolts that secure the vertical track to the brackets is safe. Do not touch the bolts on the bottom bracket where the cable attaches, ever.
Do Not DIY: Regardless of Experience
- Torsion spring replacement or adjustment. The spring holds enough force to break bones or kill. We’ve seen seasoned technicians with decades of experience get injured when a winding bar slipped. This is not about being handy. It’s about knowing that one slip with the wrong bar means a trip to Memorial Hermann.
- Extension spring replacement. Older Houston homes, especially in neighborhoods built before 1990, often have extension springs running along the horizontal track. These look less intimidating than torsion springs, but when they snap, the safety cable is the only thing keeping a metal hook from flying across the garage at head height.
- Cable replacement. The lift cables attach to the bottom bracket and run up to the drum. They carry the entire weight of the door. A frayed cable means the door is already compromised. Touch the wrong bolt and the whole thing comes down.
- Any repair involving the bottom bracket. This bracket holds the cable and the bottom roller. It is under full spring tension at all times, even when the door is open. Removing it without properly releasing spring tension is how serious garage injuries happen.
- Opener logic board or gear replacement. Modern openers from LiftMaster and Chamberlain use plastic gears designed to strip instead of breaking the motor. Replacing them requires disassembling the head unit while it’s unplugged and knowing the exact torque specs to reassemble. It’s a two-hour job for a pro and a weekend of frustration for a homeowner.
How Houston’s Heat Changes the Repair Equation
Most DIY garage door guides are written generically, but Houston’s climate creates two conditions that change how repairs work here and how much risk is involved.
First, heat affects metal fatigue differently. Steel expands when it’s hot. A torsion spring that’s been under tension through ten Houston summers has been through thousands of expansion-contraction cycles. That changes the spring’s metallurgical behavior in ways that are hard to see. A spring that looks fine at 7 a.m. in January might have internal stress fractures that let go at 3 p.m. in August when the garage interior hits 110°F. This is why spring failures cluster in our hottest months, and why a homeowner attempting a spring repair in a hot garage is working with a component that’s statistically more likely to fail during the repair itself.
Second, humidity attacks components from underneath. The average relative humidity in Houston hovers around 75% year-round. That moisture works its way into roller bearings, hinge pins, and the cable drums. It causes rust that’s invisible until the component is removed. A homeowner replacing a weatherstrip might spot surface rust on a bracket and decide to clean it with a wire brush. That bracket might be the one holding the cable. This is how a safe DIY task becomes a dangerous one, and it happens most often in homes near the bayous and in neighborhoods with older, non-climate-controlled garages.
The practical takeaway for Houston homeowners: if a repair involves any component that has been under tension for more than a few summers, treat it as if it carries more stored energy than it appears to.
The Hidden Cost: DIY and Your Door’s Warranty
Here’s a piece of the decision most guides skip entirely. Your garage door and opener are covered by a manufacturer’s warranty. That warranty has fine print about who can work on the door and what happens when an unauthorized repair goes wrong.
Clopay and Amarr, two of the most common door brands in Houston, both state in their warranty documents that damage caused by improper repair or modification voids the warranty on the affected parts. What most homeowners don’t realize is that “affected parts” can be interpreted broadly. A torsion spring replacement that goes wrong and bends the top panel can void the panel warranty, the spring warranty, and potentially the warranty on the hinges and track that took collateral damage.
The math matters. A professional spring replacement in Houston typically runs $180 to $340 from a reputable company, and that work preserves your door warranty because the technician follows manufacturer specifications. A DIY spring replacement tool kit costs $30 to $80, and if the spring slips and damages your door, you’re now looking at full retail price for a new panel or a new door. A sectional door panel for a two-car garage can run $400 to $800 on its own, and an entire door replacement in Houston typically lands between $1,200 and $3,800 depending on size and material-details you can explore further in our Garage Door Cost Breakdown: The Houston Homeowner’s Reference for 2026.
The warranty isn’t the only cost angle. Your home insurance policy also has language about negligence. A DIY repair that leads to property damage or injury may not be covered if your insurer determines the work was done without appropriate qualifications. This is not to scare anyone off from changing a keypad battery, which no insurer would bat an eye at. It’s specifically about spring and cable work, which is where the manufacturer and the insurer share the same view: trained hands only.
What DIYers Should Document for Insurance Purposes
If you do choose to handle a safe DIY repair, taking ten minutes to document the job protects you if a related issue comes up later. Here is the Garage Door Repair Maintenance Checklist for Houston Homeowners we recommend to every Houston homeowner who asks us this question, in the order you should do it:
- Photograph the problem before you start. Take wide shots that show the whole door and close-ups of the specific component. These establish the pre-repair condition.
- Photograph any tools and replacement parts, laid out next to the door. This shows what was used and that the replacement part was correct for the door model.
- If lifting the door manually while it’s disconnected from the opener, photograph the door in both raised positions. This documents that the door was balanced before your repair.
- Photograph the completed repair from the same angles as the “before” shots.
- Save the receipt for the part and the manual page showing the part number. If a warranty question or insurance claim ever arises, having the correct part documented is your first line of defense.
- Write down the date of the repair and any observations about how the door operated afterward, including any new sounds, hesitation, or uneven movement. This creates a record that helps a technician diagnose later if needed.
None of this is about proving anything to anyone in the moment. It’s about having a clear record if a future claim requires it. In Houston’s climate, where heat and humidity cause components to degrade on their own timeline, a documented repair history helps distinguish climate-related failure from repair-related failure.
When a Safe DIY Task Reveals a Second Problem
This is the scenario we see most often in Houston, and it’s worth preparing for before you open the garage door on a DIY Saturday. You set out to replace the bottom seal, which is genuinely safe. While you’re down there, you notice the cable on one side is frayed. Or you’re realigning the photo eyes and you see a crack in the roller hinge. Or you’re lubricating the track and the door shifts half an inch when you rest your hand on it, which tells you the spring tension is off.
Here’s how to handle that moment without making things worse:
- Stop working immediately. Do not finish the original task, and do not start poking at the newly discovered problem.
- Lower the door gently if it’s raised, using the opener or the manual handle. If the door resists or drops unevenly, leave it where it is.
- Photograph the new finding from multiple angles. A frayed cable, a cracked hinge, and an unbalanced door each have a distinct look that helps a technician prepare the right parts before arriving.
- Note any new sounds or behaviors you’ve noticed recently: grinding, popping, uneven speed, a door that drifts down on its own. These observations are more useful for diagnosis than most homeowners realize.
- Call before touching anything else. A professional can assess whether the new problem changes the safety of the door in its current state. This is especially true in Houston, where heat-related spring fatigue and humidity-related cable rust often appear together.
The point is simple: a safe DIY task becomes a safety issue when the repair scope expands beyond what you expected, and the person best equipped to make that call is the one who has seen hundreds of Houston garage doors in the same week yours started acting up.
The Real Tool Math: What DIY Actually Requires in Houston
Let’s talk honestly about the tool investment. Most Houston homeowners already own the basics: a stepladder, a ratchet set, a screwdriver set, maybe a socket set. That’s enough for the genuinely safe tasks in the matrix above.
For anything in the borderline category, you need more. A torque wrench for properly tightening track bolts runs $40 to $80 at any Houston home improvement store. A good set of safety glasses and work gloves adds $20. If you’re working in a Houston garage in August, you need a fan and frequent water breaks, plus a plan to finish before the garage hits 100°F, which it will by mid-morning.
For spring work, which we’ve already advised against, the tool cost climbs fast. Winding bars of the correct diameter for your spring cone run $15 to $30 per pair, and using a screwdriver or a pry bar instead of proper winding bars is how people get hurt. A spring tension gauge for checking balance costs $30. A socket set robust enough for the set screws runs $50 and up. By the time you’ve assembled the correct tools for a torsion spring job, you’ve spent $100 to $150, and you still haven’t touched the spring. A professional spring replacement in the Houston market costs $180 to $340, includes the part, includes the labor warranty, and preserves your door warranty.
The tool math points the same direction for most families. The jobs you can safely do require tools you likely already own. The jobs that require specialized tools are the same jobs that carry the injury risk. There isn’t a meaningful middle ground.
Why Houston’s Older Doors Complicate the DIY Decision
Houston’s housing stock is a mix of new construction in master-planned communities and older homes in established neighborhoods like Garden Oaks, Timbergrove, and Sharpstown. Doors on homes built before the mid-1990s often lack the safety features that make modern doors more forgiving for a careful homeowner.
Pre-1993 doors may not have photo eye sensors at all, which means a DIYer testing the door’s force sensitivity has no automatic reversal to catch a mistake. Wooden doors from this era are heavier than modern steel or aluminum doors, and that extra weight means everything under tension is working harder. Rollers may be rusted into their hinges after decades of Houston humidity, which turns a simple roller swap into a job that requires cutting the old roller out with a hacksaw blade while carefully avoiding the cable.
If your Houston home still has its original wooden door, even the “safe” DIY tasks deserve a second look. A bottom seal replacement on a 1980s wooden door often reveals rot along the bottom panel, and that’s a structural issue you want a professional to assess before it spreads to the framing.
For a deeper look at repair scenarios specific to this city, visit our Garage Door Repair in Houston page. We are the Fernbrook Garage Doors Houston home for straight answers about what your door actually needs, and our team has seen every door configuration this city has produced since we started working here in 2002.
Common Mistakes to Avoid
- Using the wrong lubricant. WD-40 is a solvent, not a lubricant. It strips away the grease that keeps rollers and hinges quiet. Use a silicone or lithium spray, and wipe away the excess. In Houston’s humidity, the wrong lubricant attracts grit faster than you’d think.
- Replacing only one spring when both are the same age. Torsion springs are rated for a cycle life, and they wear out in pairs. If one has snapped, the other is near its end. Replacing only the broken one means paying for labor twice within a year or two.
- Painting over rusted springs. A layer of paint makes a spring look better but hides the surface pitting that signals fatigue. A rusty spring needs replacement, not cosmetics.
- Adjusting the opener’s force settings without knowing the correct range. Modern openers from Genie and Chamberlain have dials or menu settings for force. Setting them too high turns your opener into a device that will close on a child or pet. Set them too low and the door won’t close in cold weather. There’s a specific testing procedure in the opener manual, and it’s worth reading.
- Disconnecting the opener and lifting the door by hand without checking the balance first. A properly balanced door stays put when you raise it halfway and let go. If it drifts down, the spring is failing. If it shoots up, the spring is over-wound. Either condition means the door is unsafe to leave disconnected, and in a Houston garage where kids and pets wander through, that’s a real risk.
- Buying replacement parts by price instead of by match. A bottom seal that’s off by a quarter inch lets Houston’s humidity and summer rain into your garage. A torsion spring with the wrong wire size changes the door’s balance. Match parts to your door’s serial number, not to the lowest price on a search results page.
- Working on a hot door in a hot garage without a plan. Metal components in a closed Houston garage can reach 120°F by early afternoon. Heat exhaustion impairs judgment, and impaired judgment is the last thing you want when handling anything that stores energy.
See the difference
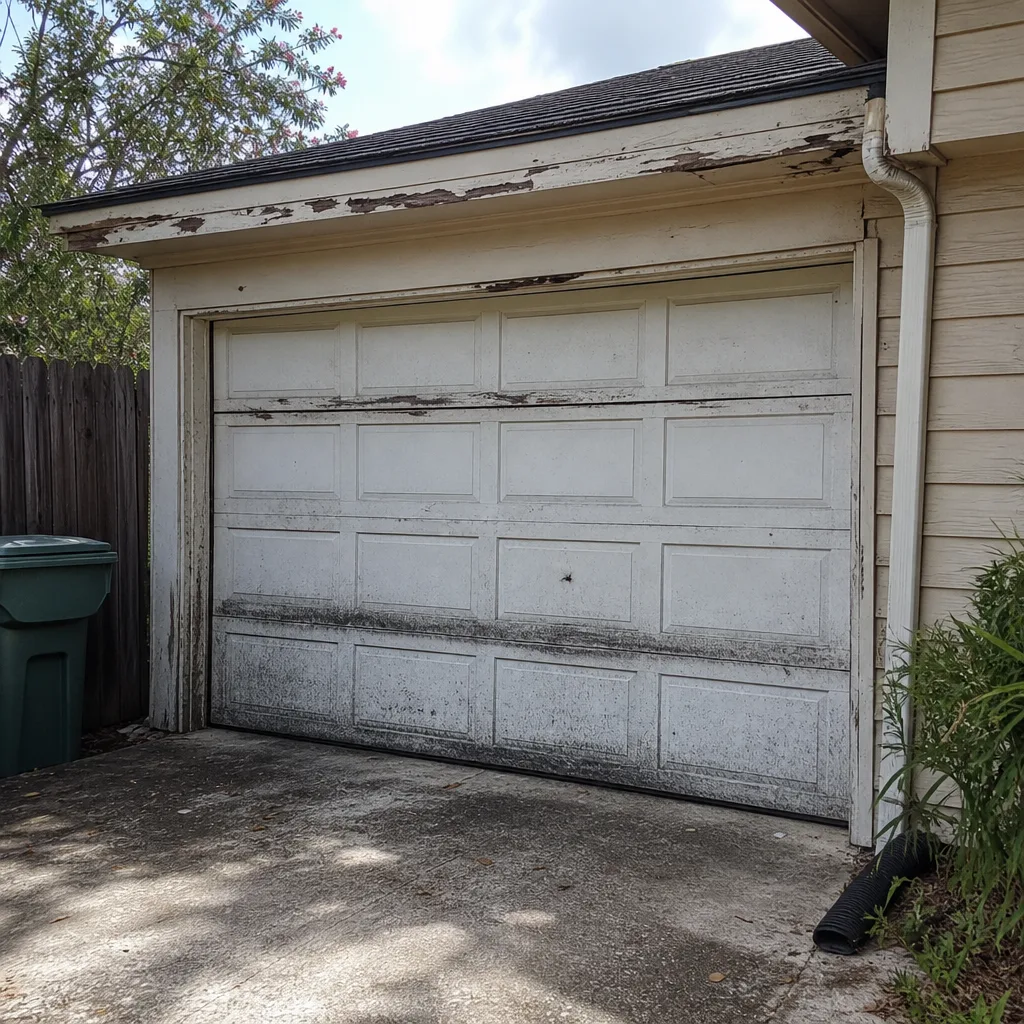 Before
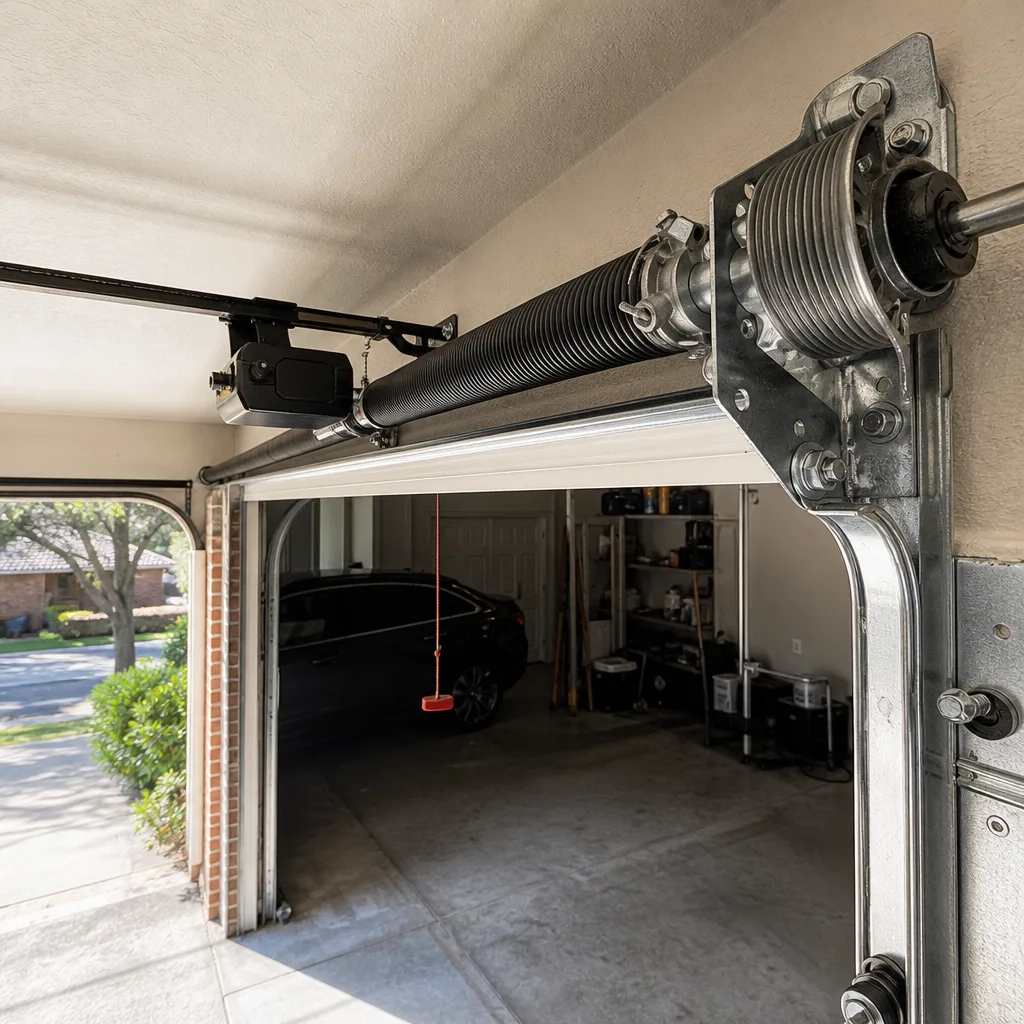 After
After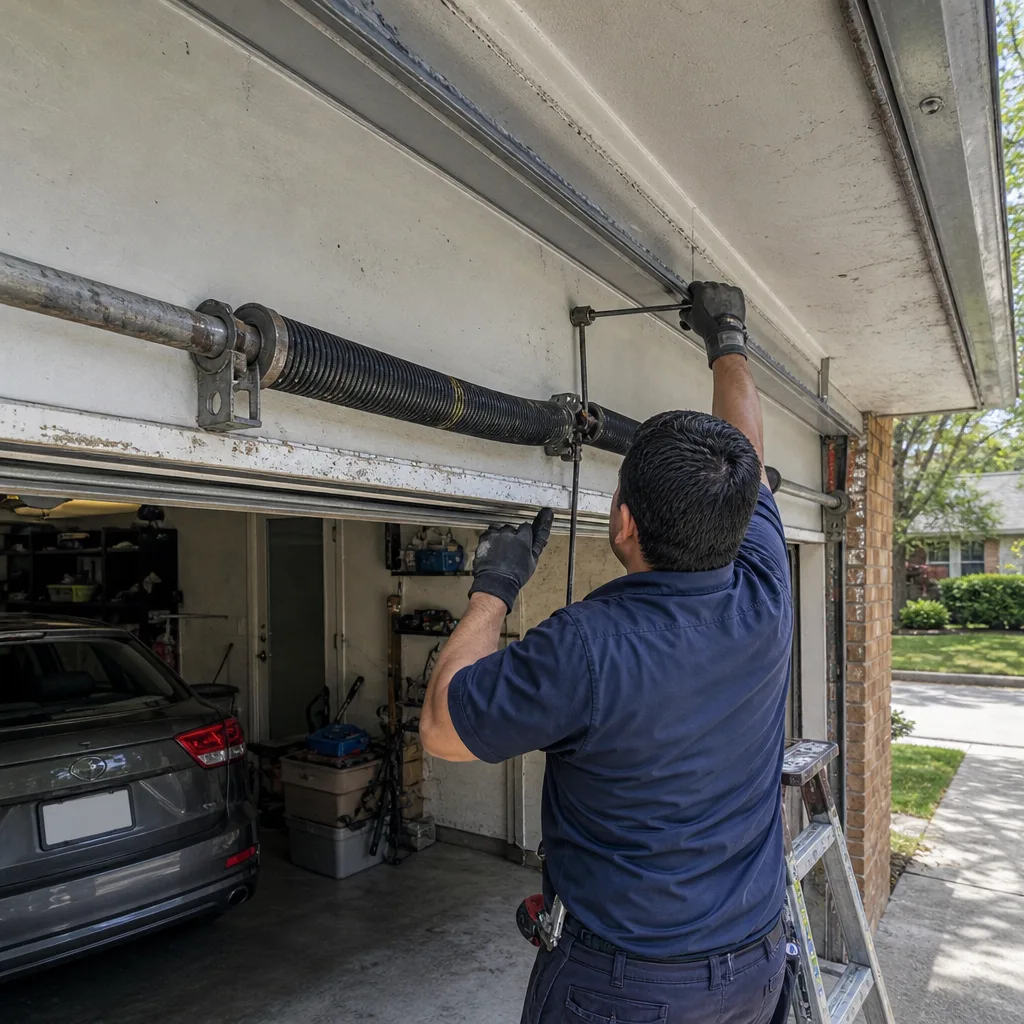 Before
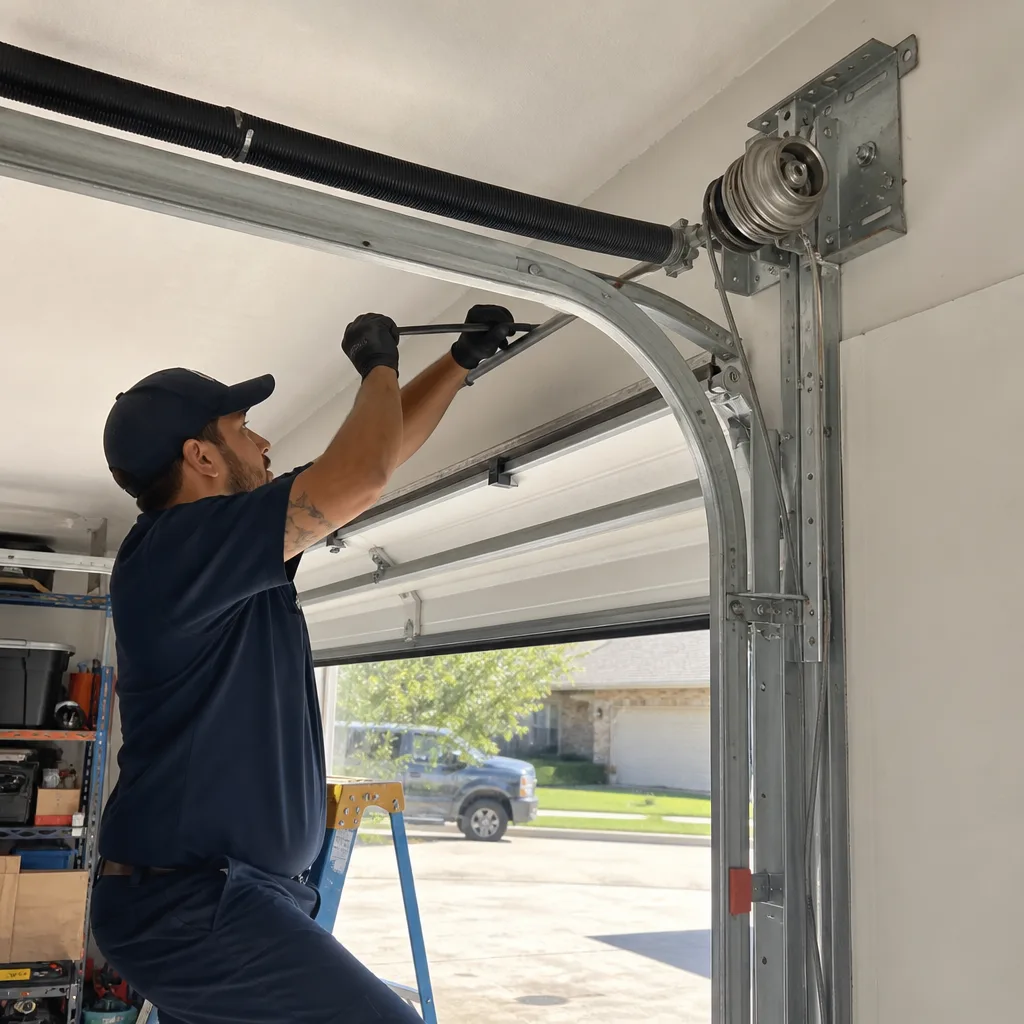 After
After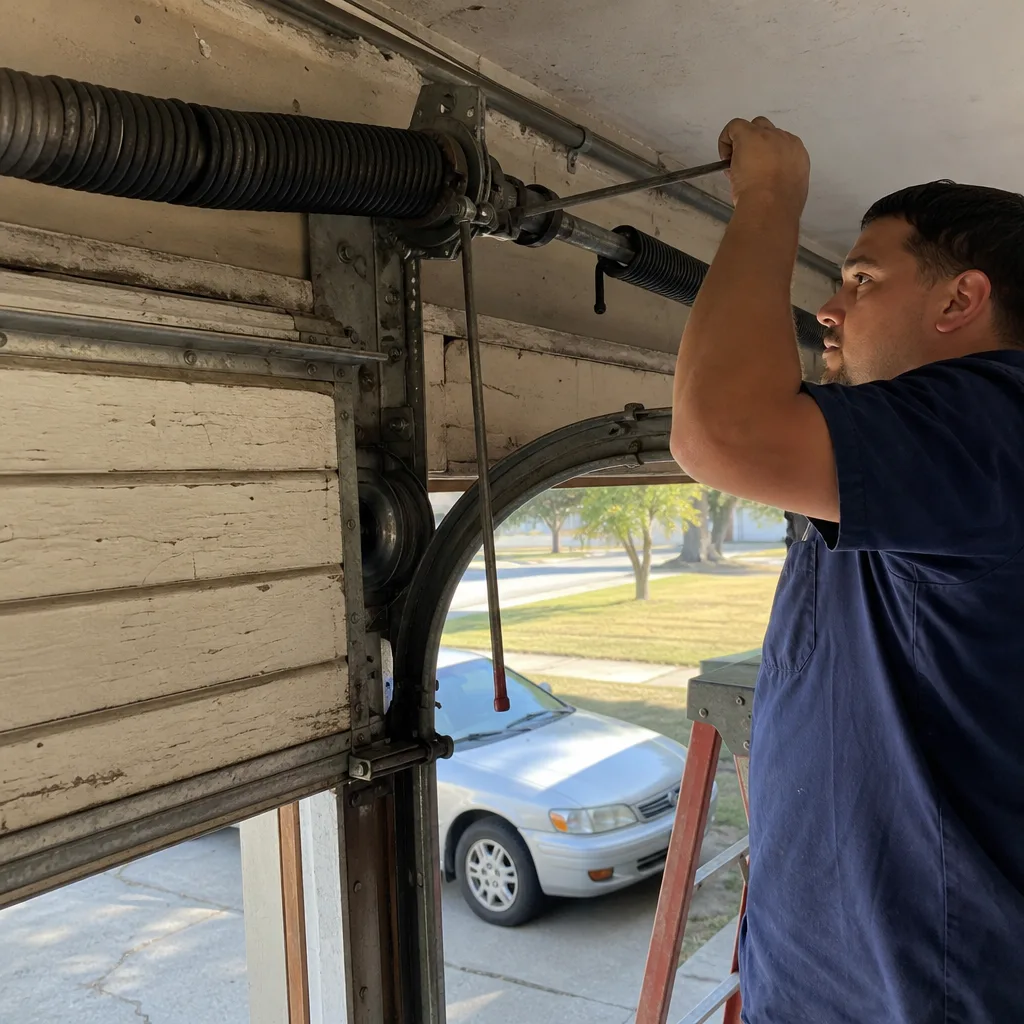 Before
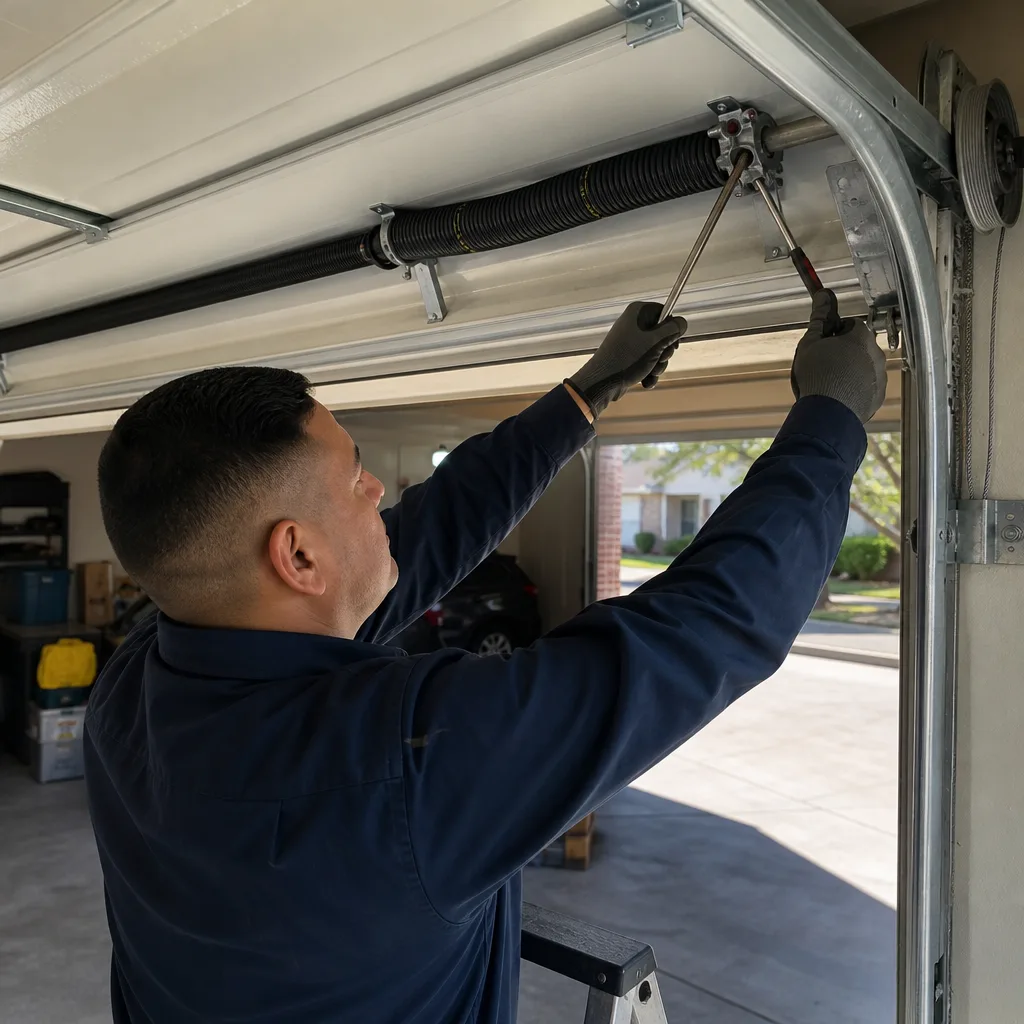 After
AfterWhat a Professional Repair Actually Protects in a Houston Home
The working door is the minimum. What a good technician protects is everything between the garage door and the kitchen door. Houston homes have open floor plans, meaning the garage often opens directly into a mudroom or laundry room. Dirt from a garage floor travels. This is where the difference between a bare-minimum repair and a careful one shows up in ways you’ll notice for weeks.
A technician who puts shoe covers on before stepping onto your hardwood, who lays drop cloths before unrolling a cable on your tile, who uses quiet hand tools while the kids are napping, who asks before moving a dog crate or a stroller out of the way: that’s the difference between a repair that fixes the door and a repair that respects the home. These are the standards every Fernbrook technician follows, and they’re written down as the C.A.R.E. values: Clean up like it is our own home, Ask before we move or touch anything, Respect the family’s time and quiet hours, Explain the price before the work. The Cedarwell Care Promise puts this in writing on every job, and it includes a photo of the clean-up before the technician leaves, the same way we’d want it in our own homes.
The Garage Door Spring Repair in Houston page details what spring work involves and what it costs here. The Garage Door Installation in Houston page covers full replacements, including the heat-rated options we recommend for garages that face west.
When to Call a Professional
Call when the door won’t balance on its own, when you hear grinding or popping during operation, when a cable looks frayed or a spring looks rusted, when the door closes unevenly and one corner hits first, when the opener reverses for no reason after the photo eyes have been cleaned and aligned, or when any work you’ve already started reveals a second problem you didn’t expect. None of these are jobs a homeowner should handle with a YouTube video and a socket set. Fernbrook Garage Doors Houston offers free estimates across the Houston area, and a live person answers the phone 24 hours a day, 7 days a week. Call (361) 286-8321 and tell us what the door is doing. We’ll give you an honest read on whether it’s a DIY fix or a job for a technician, with no pressure either way.
Frequently Asked Questions
In Houston, a spring replacement typically runs $180 to $340, a cable replacement $160 to $260, a roller replacement $110 to $190, and an opener motor replacement $300 to $500 for parts and labor. Every Fernbrook job starts with a written price before any work begins, so the number you agree to is the number you pay. Call (361) 286-8321 for a free estimate on your specific door.
You can, but you shouldn’t. Torsion springs store enough force to cause serious injury or death if a winding bar slips, and the risk is higher in Houston’s heat, where metal fatigue in older springs is difficult to see before it lets go. A professional spring replacement costs $180 to $340 in Houston and includes a labor warranty that protects you if the spring fails within the covered period.
Yes. Houston’s average humidity hovers around 75%, which corrodes roller bearings, hinge pins, and cable drums over time. It also means lubrication breaks down faster, which is why we recommend lubricating rollers and hinges twice a year here rather than the once-a-year recommendation found in national guides.
It can. Manufacturers including Clopay and Amarr void warranty coverage on parts damaged by improper repair or modification, as covered in our guide to Garage Door Permits, Codes & Inspections in TX: What You Need to Know. A professional repair performed to manufacturer specifications preserves the warranty, which is one reason the effective cost difference between DIY and professional work isn’t what the parts receipt suggests.
Fernbrook Garage Doors Houston keeps a live person on the phones 24 hours a day, 7 days a week. Spring and cable emergencies are typically scheduled the same day you call, and every visit includes a written price before any work starts. Call (361) 286-8321 and tell us what the door is doing.
Our technicians are trained on eight major brands, including LiftMaster, Chamberlain, Genie, Clopay, Amarr, Wayne Dalton, Craftsman, and Raynor. Most Houston homes have one of these brands, and if your door is something else, call us anyway and we’ll tell you honestly whether we can source the parts.
The Bottom Line
The DIY-versus-professional question for garage doors isn’t about how handy you are. It’s about knowing which components carry risk that skill alone can’t eliminate, and which repairs genuinely are weekend work. Weatherstripping, bottom seals, photo eyes, keypad batteries, and lubrication: go ahead. Springs, cables, bottom brackets, and opener logic boards: call a professional. Houston adds its own variables to the equation, from heat-accelerated metal fatigue to humidity-driven rust, and the smartest homeowners we meet are the ones who know the boundary. If you’re not sure which side of the line your repair falls on, call (361) 286-8321. A live person will answer, and you’ll get a straight answer before anything else.
Written by Jesse Calder, Owner at Fernbrook Garage Doors Houston, serving Houston since 2002.